|
|
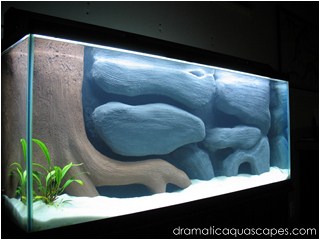

Back in the fall of 2008, this DIY aquarium background project marked the
beginning of a new hobby interest for this website author. The new background
also breathed new life into what was previously little more than an average,
uninspired, 55 gallon aquarium.
It was the first of what would become many DIY backgrounds over the next few years and a key motivation behind the creation of the Dramatic AquaScapes website.
It was the first of what would become many DIY backgrounds over the next few years and a key motivation behind the creation of the Dramatic AquaScapes website.
DIY Aquarium Background
Submersed Tree
and Rocks
Submersed Tree
and Rocks
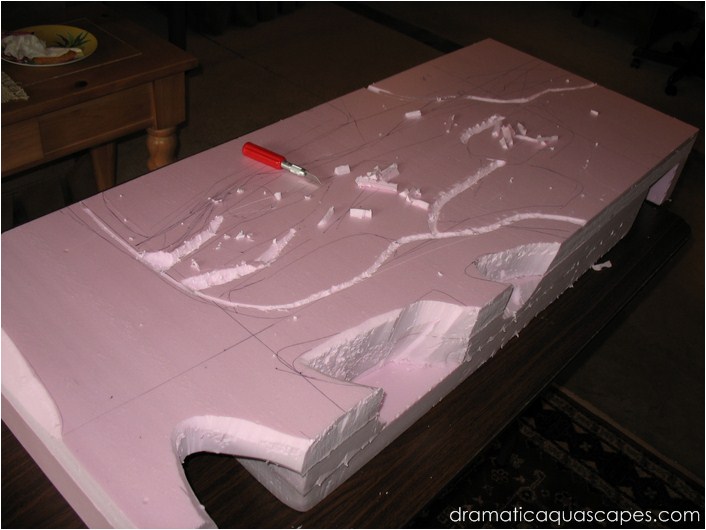
This design began with three layers of 1½" thick
polystyrene sheet from Home Depot. The 4'
wide sheets were cut to 18" tall then glued
together using a caulking gun and GE brand
Silicone #1. The #2 version of their silicone
product contains mold inhibitors which are good
for your house, but would be bad for your
aquatic life.
The tree and rocks pattern was rough sketched in ink pen. the first cuts were with an exacto knife.
The tree and rocks pattern was rough sketched in ink pen. the first cuts were with an exacto knife.
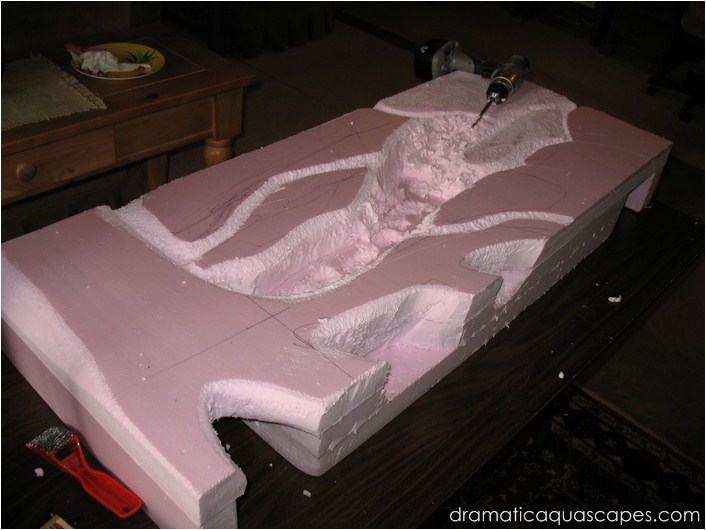
A cordless drill with wood bit was then used to
make quick work of digging out the deeper
recesses around the tree and rocks. The small
red handled tool in the photo is a rasping tool
usually intended for use with wood, but it also
works very well for smoothing rough edges in
the polystyrene.
While both of these tools can produce the desired results, they can make a pretty big mess so having a shop vac handy or at least broom is recommended.
While both of these tools can produce the desired results, they can make a pretty big mess so having a shop vac handy or at least broom is recommended.
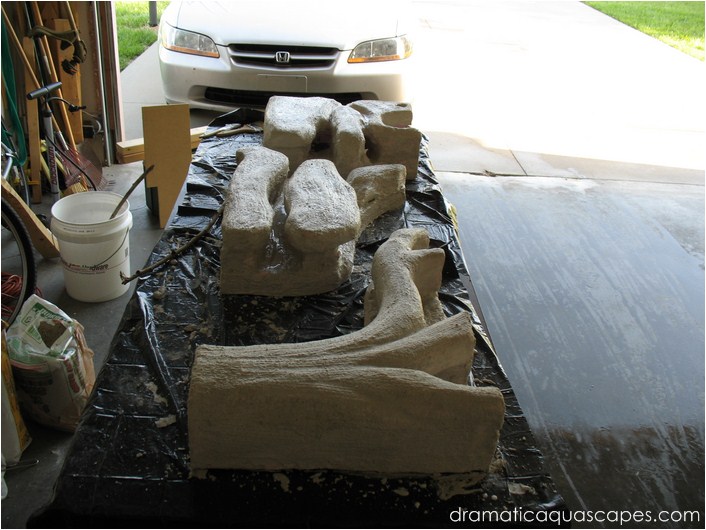
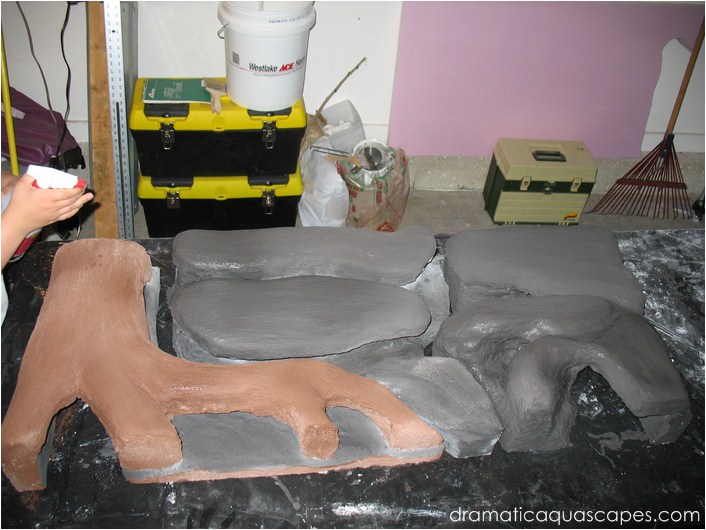
At one point, it made sense to separate the
background into three large sections. This
made it easier to cut out paths around and
behind the rock formations for fish to hide and
play. Having three smaller sections instead of
one large section was also necessary to
install the background due to the center brace
on top of the aquarium.
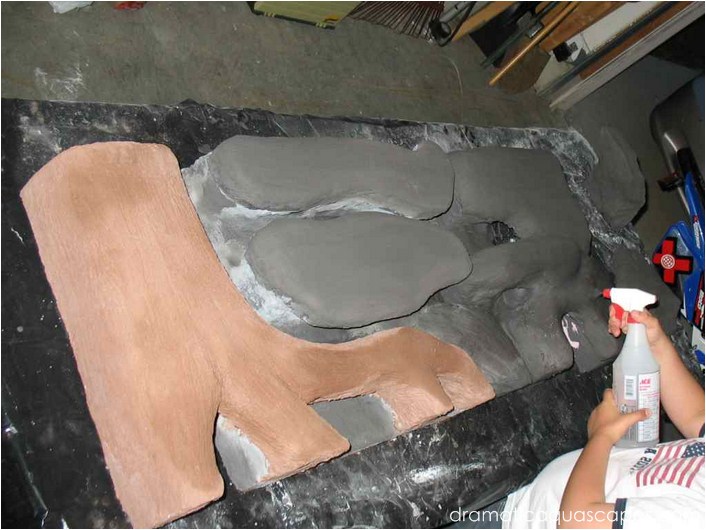
A folding table in the garage covered with plastic trash bags made a good work area.
The first layer of Quikrete Quikwall brand cement was mixed to a latex paint-like consistency and applied with a disposable paint brush. This was the first of a total of three layers of cement to be applied.
A folding table in the garage covered with plastic trash bags made a good work area.
The first layer of Quikrete Quikwall brand cement was mixed to a latex paint-like consistency and applied with a disposable paint brush. This was the first of a total of three layers of cement to be applied.
This photo shows the completed sections each
with three layers of cement applied. Quikrete
brand brown and charcoal liquid color were
added to the cement mix before brushing on the
final layer.
Before the Quikrete liquid acrylic became part
of the build process, the cement had to be kept
moist while curing. Another way I've learned to
do this if you want to avoid the extra cost of the
liquid acrylic is to moisten the curing cement
then wrap in plastic. Liquid acrylic is still
recommended though for the overall long term
strength of the background.
Page 1 of 2