|
|

welcome to
do-it-yourself aquarium and semi-aquatic background designs beyond the traditional
Dramatic AquaScapes
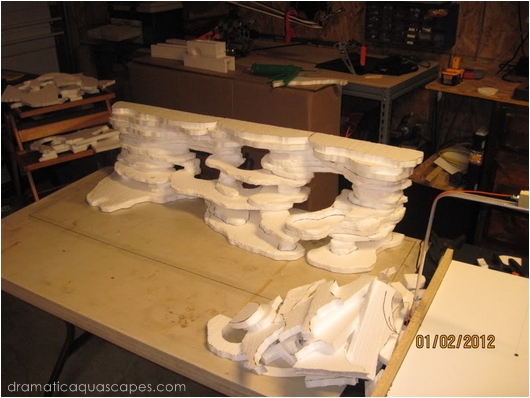
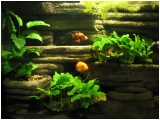
Photo 6
The background really starting to come together. It is very time consuming. Patience will pay off in the end.
The background really starting to come together. It is very time consuming. Patience will pay off in the end.
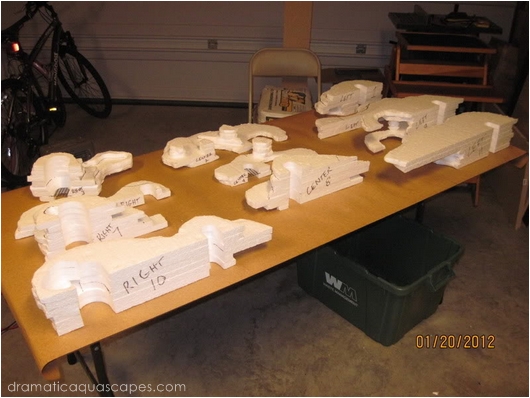
Photo 7
After siliconing layers together into sections, I labeled each section in the order that they would be placed in the tank. Looked at it as a big 3D jigsaw puzzle.
After siliconing layers together into sections, I labeled each section in the order that they would be placed in the tank. Looked at it as a big 3D jigsaw puzzle.
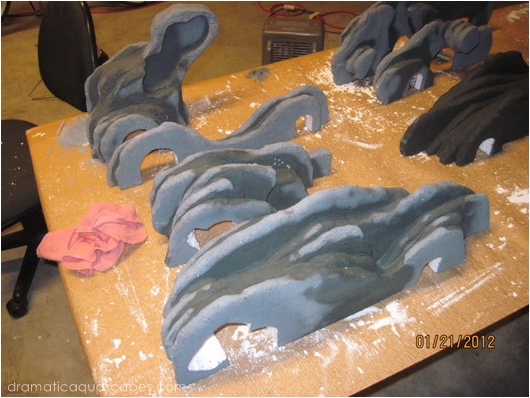
Photo 8
First coat of concrete. I used Glenn's recipe without any color added.
First coat of concrete. I used Glenn's recipe without any color added.
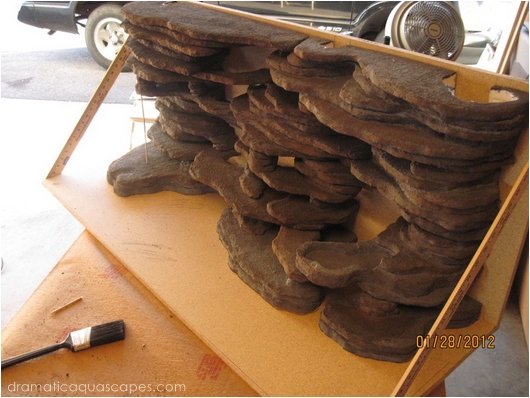
Photo 9
Second coat of Quikwall with color. The color was charcoal. I ran out of the first batch and had to mix some more.
Color didn't quite match the first batch as you can see with the really dark section on the right side of the pic.
To fix this, I added some more color and tried to blend the best I could. Really started looking like rocks now.
Photo 10
With the concrete complete, the BG was a bit front heavy on the left side. You can barely notice a skewer holding up one of the cliffs.
To blend the colors, I started with the third and final coat of concrete with "Charcoal" and then started adding "Buff" to the mix and continued blending while the charcoal was still wet.
Makes blending a lot easier as the colors blended easier.
Community
Spotlight
Spotlight
the
My 75 Gallon DIY Aquarium Background
By Chad Fromme
California, Maryland
Page 1 of 3
By Chad Fromme
California, Maryland
Page 1 of 3
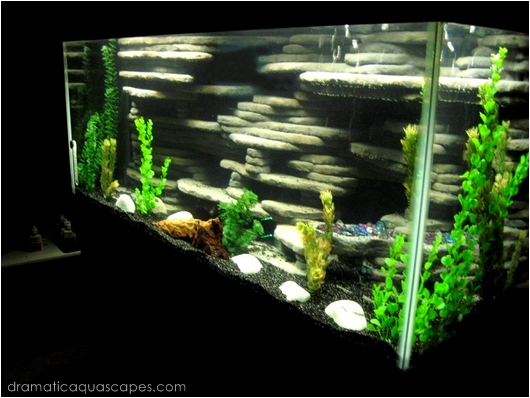
75 Gallon All-Glass Aquarium setup as a
community tank. I stumbled upon this site
researching filters. I instantly shifted my interest
to backgrounds. Whole project took approx. 2
months following Glenn's step by step
instructions in the DIY Project section above.