|
|
Do-it-Yourself
Wet / Dry Filter
page 1 of 3
Wet / Dry Filter
page 1 of 3
Project Materials
1 x Sterilite brand 5.5 Qt. "Modular Latch Box"
3 x Sterilite brand 7.2 Qt. "Modular Latch Box"
24 x Plastic Pot Scrubbers (12 x 2-packs)
1 x 3/4" slip & thread adapter
1 x 3/4" rubber o-ring
1 1" - 2" thick plastic foam filter pad
1 x Submersible utility pump
1 10 gallon aquarium
1 x PVC or other type of overflow system
Tools
Handsaw
Power Drill
3/16 drill bit
1" wood bit
Permanent marker
40w Soldering Iron
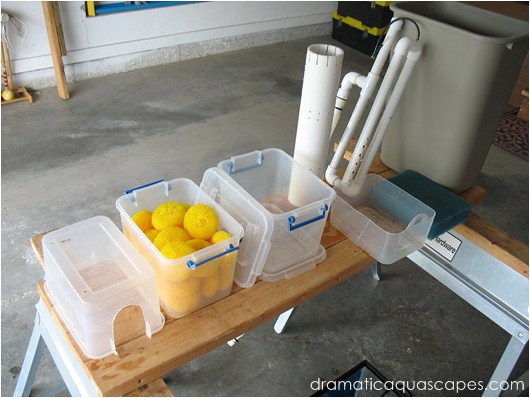
This makeshift work bench made from a couple of sawhorses and some lumber provides a good temporary workspace to assemble our new DIY wet/dry filter components and make a little mess in the process.
1 x Sterilite brand 5.5 Qt. "Modular Latch Box"
3 x Sterilite brand 7.2 Qt. "Modular Latch Box"
24 x Plastic Pot Scrubbers (12 x 2-packs)
1 x 3/4" slip & thread adapter
1 x 3/4" rubber o-ring
1 1" - 2" thick plastic foam filter pad
1 x Submersible utility pump
1 10 gallon aquarium
1 x PVC or other type of overflow system
Tools
Handsaw
Power Drill
3/16 drill bit
1" wood bit
Permanent marker
40w Soldering Iron
This makeshift work bench made from a couple of sawhorses and some lumber provides a good temporary workspace to assemble our new DIY wet/dry filter components and make a little mess in the process.
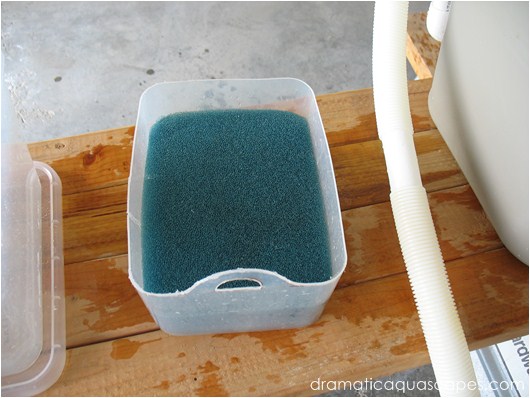
Stage 1, which provides mechanical filtration, is
made from a 7.2 quart container cut in half
lengthwise and a 2 inch thick section of highly
porous polyester foam. Several rows of holes
were drilled into the bottom of the basket we
made from the plastic container for drainage.
The foam pad is the first filter media unfiltered aquarium water passes thru since it has the greatest capacity to trap larger debris without clogging.
The piece was cut to fit snugly in the basket we cut out of the 7.2 quart container using a soldering iron. An original attempt to use a pair of metal sheers to cut the plastic basket resulted in a large crack. The crack was repaired using the soldering iron.
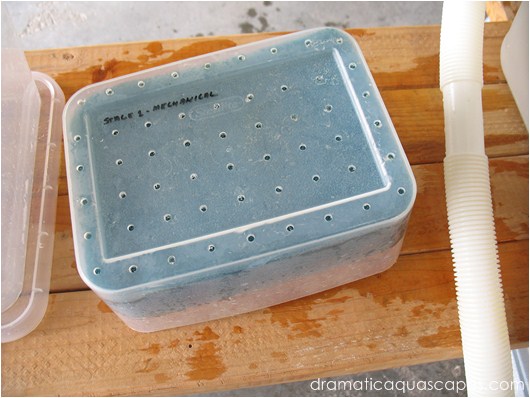
This photo shows the rows of holes in the
bottom of the stage 1 basket. A step drill bit
was used this time, but the 40w soldering iron
would have also made quick work of the hole
making process.
Stage 2 provides additional mechanical
filtration and is made from another 7.2 quart
container. Just as stage 1, several rows of
holes were drilled across the bottom of the
container to help insure even distribution of
water flow thru the filter.
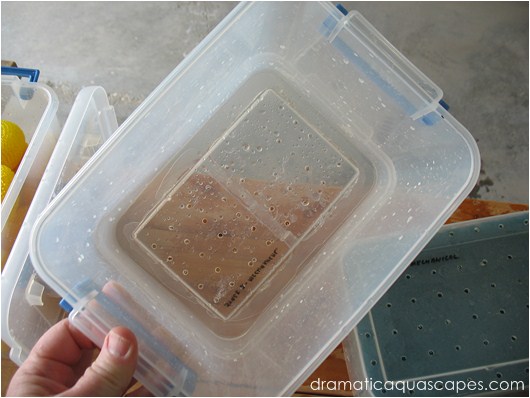
Difficult to see in this view, but two large square sections of the stage 3 lid were cut out then the modified lid was secured to the bottom of the stage 2 container by passing the hot soldering iron thru both layers of plastic. The melted plastic formed several "rivet" like weld points.
Difficult to see in this view, but two large square sections of the stage 3 lid were cut out then the modified lid was secured to the bottom of the stage 2 container by passing the hot soldering iron thru both layers of plastic. The melted plastic formed several "rivet" like weld points.
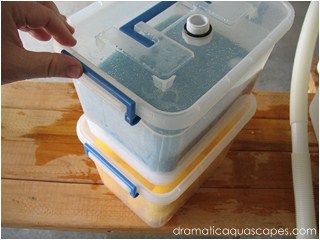
With the modified stage 3 lid securly attached to
the bottom of the stage 2 container, the stage 2
container was then filled about 1/3 full with
polyester fiberfill from the local craft store.
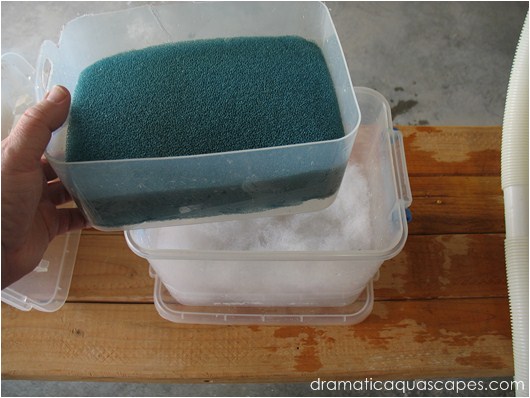
The fiber will be compressed below the inserted stage 1 basket and will help trap the finer debris that passes through the blue foam.
The stage 1 basket with the blue polyester foam fits snugly inside the stage 2 container. The handle we cut out on the left side using the soldering iron and makes it all the easier to remove the basket when it's time to replace the floss or rinse the foam.
welcome to
do-it-yourself aquarium and semi-aquatic background designs beyond the traditional
Dramatic AquaScapes
Disclaimer: Exercising reasonable safety precautions
when performing the steps described in this article
are the responsibility of the individuals building the
background. Dramaticaquascapes.com is not
responsible for personal injury or property damage as
a result of following steps outlined in this article.