|
|


Do-it-Yourself
Wet / Dry Filter
page 3 of 3
Wet / Dry Filter
page 3 of 3
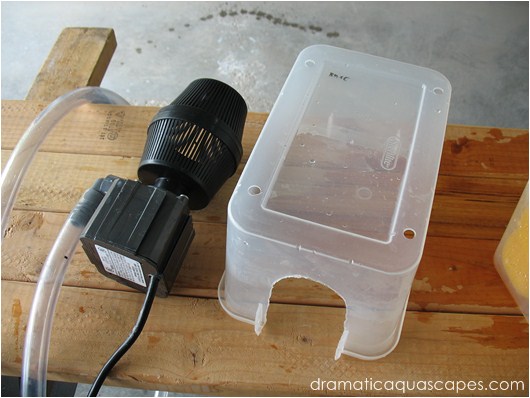
The 5.5 quart plastic container has been
modifed with a large opening carved out in the
side with the soldering iron.
Several holes have been drilled in the lower sides and a few in the top to allow water to flow toward the pump and any trapped air to be released. This is the "base" of our wet/dry filter.
Several holes have been drilled in the lower sides and a few in the top to allow water to flow toward the pump and any trapped air to be released. This is the "base" of our wet/dry filter.
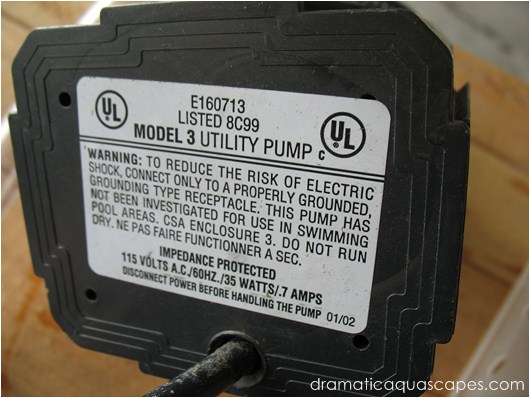
The label on this pump doesn't list a
manufacturer, but the pump housing strongly
resembles a Danner brand and some folks
online have confirmed the model number is the
same manufacturer.
Regardless, the pump moves alot of water and does so quietly and reliably so no complaints here.
Regardless, the pump moves alot of water and does so quietly and reliably so no complaints here.
The 350 GPH pump seems to provide a good
rate of flow for the containers and filter media
we've choosen. It also fits well underneath the
5.5 quart base container.
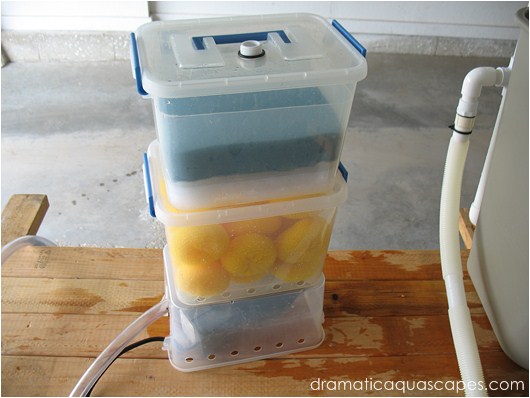
Our assembled containers will be placed in a
10 gallon aquarium which completes our fully
transparent wet/dry system.
Placing a small lamp in the aquarium stand cabinet under the aquarium makes it easy to check on all stages of the filter while in operation to determine if maintenance is needed.
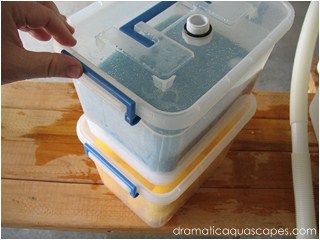
Servicing the different stages of filter media is as easy as turning off the pump and unfastening the latches.
Placing a small lamp in the aquarium stand cabinet under the aquarium makes it easy to check on all stages of the filter while in operation to determine if maintenance is needed.
Servicing the different stages of filter media is as easy as turning off the pump and unfastening the latches.
Click the play button to the left for a short video
of this do-it-yourself wet/dry filter.
welcome to
do-it-yourself aquarium and semi-aquatic background designs beyond the traditional
Dramatic AquaScapes
Disclaimer: Exercising reasonable safety precautions
when performing the steps described in this article
are the responsibility of the individuals building the
background. Dramaticaquascapes.com is not
responsible for personal injury or property damage as
a result of following steps outlined in this article.
For step-by-step instructions how to build the
PVC overflow, just click the photo below!