|
|
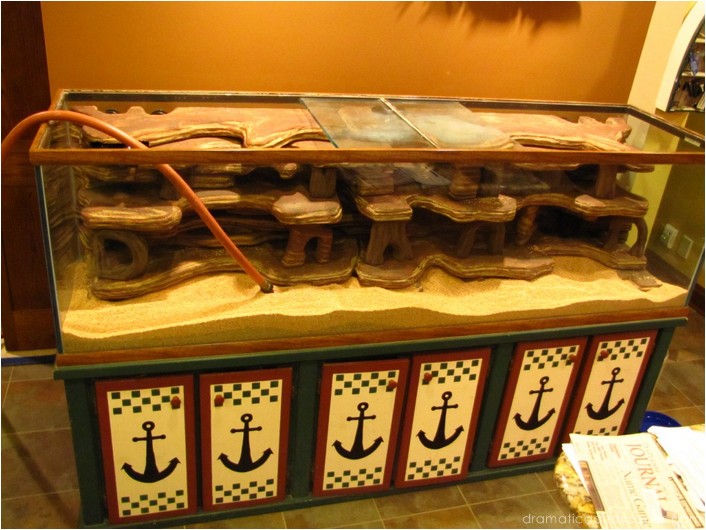
My husband Dan and I have had a 200 gallon aquarium for 16 years, however
we have not had water or fish in it for about 5 years.
Page 2 of 3
Our 200 Gallon
DIY Aquarium Background
by
Dan and Becky Topp
Des Plaines, Illinois
DIY Aquarium Background
by
Dan and Becky Topp
Des Plaines, Illinois
welcome to
do-it-yourself aquarium and semi-aquatic background designs beyond the traditional
Dramatic AquaScapes
I stuck strictly to Glenn’s instructions, with one
major exception. With the tank being so large I
did not feel I could possibly apply the concrete
to the pieces while they were in the tank. I
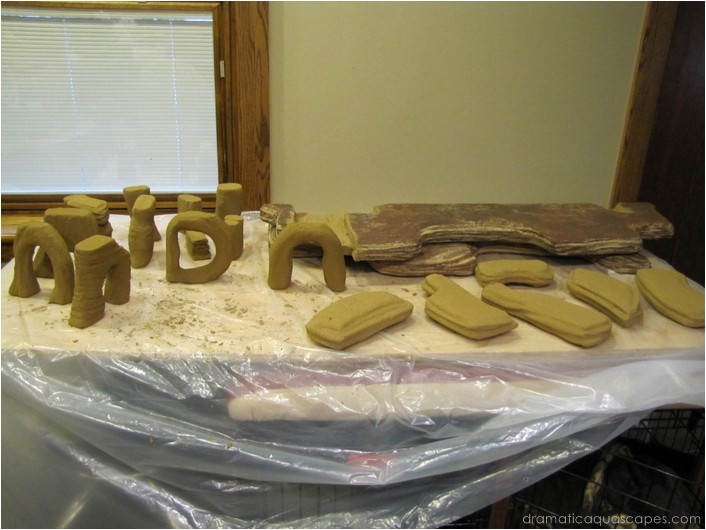
decided I would have to coat all of the pieces
independently and then silicon them into place
in the tank.
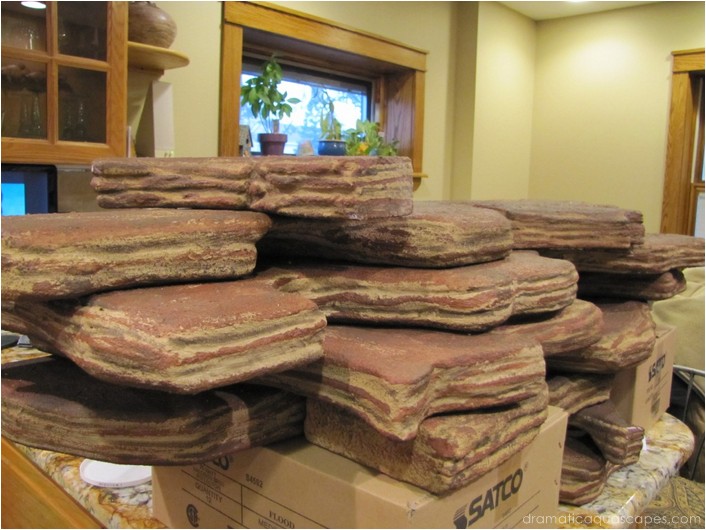
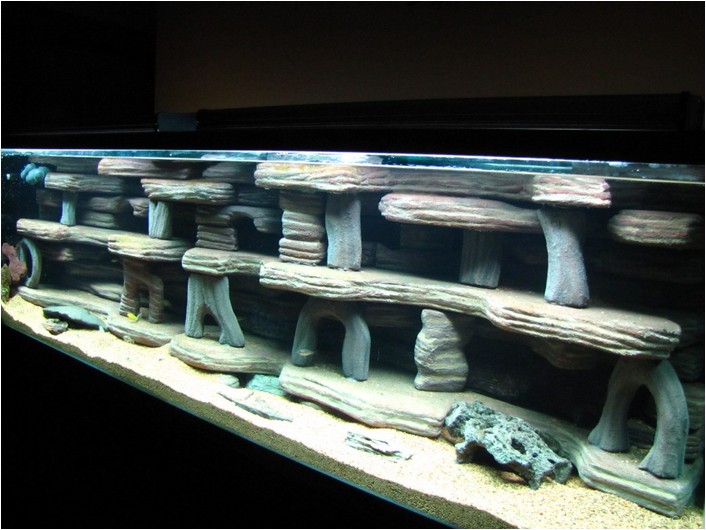
I was very hopeful this plan would work after all the time put in on this project. I did not want anything to go wrong. We were able to get all of the exact ingredients and after a test run on a couple of pieces, I decided to screen out the fiberglass because there was an awful lot of the fibers in the mix and they could be clearly seen on the test pieces. I used a screen colander like Glenn shows in his instructions and it worked really well. I got the majority of the fibers sifted out. The only other variation I made was to add tint to all of the coats.
The plain Quikwall mix is white and I did not want to have to worry about getting all of the white covered up. Also, if I got any chips in the pieces I did not want to see the white layer. For the concrete colors I mostly used tan, brown, brick red, and charcoal. Each coat I applied was a different color. After three full coats of the concrete mix was applied than I really started playing with the colors. I mixed up a very thin mix of fortifier, Quikwall, and coloring and applied it to the pieces in layers with a small brush. I had a real rock that I used as a model for the shaping and coloring. When I got done with all of the pieces I was not quite sure of the final result and my husband was really skeptical.
We waited a few days and I think the colors faded a bit and eventually looked better to us. I also knew that they would look more gray in the tank and eventually be covered with algae anyway.
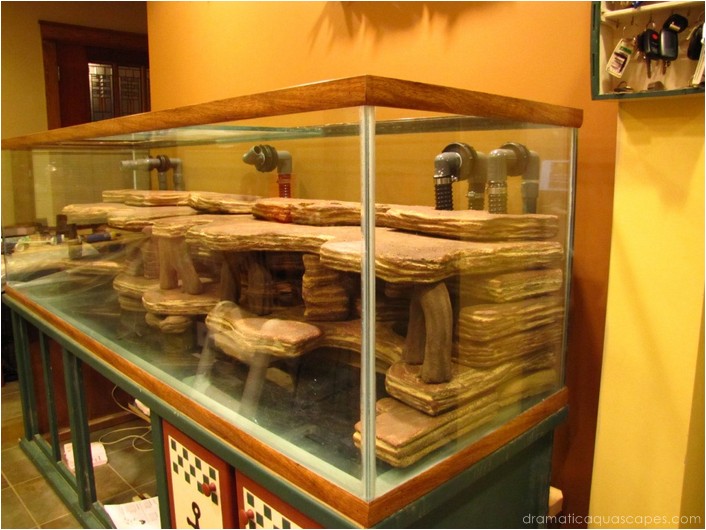
We carefully layered the pieces into the tank
applying generous amounts of caulk to the back
and top of each layer. It took an awful lot of
caulk.
My husband was so eager to get the tank filled he brought up the hose that same evening and I had to remind him we had to wait for the caulk to dry.
Two days later it was Saturday morning, April 2nd, about three months since the project began, and we started filling the tank with water.
For the next few days we had some issues with some of the layers starting to separate, but my husband drained the tank down a bit, dried out the problem areas and re-caulked it. He eventually placed some other pieces in the tank to sort of wedge all the layers together against the top center class piece.
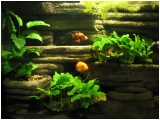
This worked as the layers can no longer spread apart. After several water changes, filter rinses, and PH checks we felt we were just about ready for the fish. My husband pumped water into the system from a Koi tank we have in our greenhouse for a biological head start. A day later we had the water up to temperature and added the cichlids. We went with an assortment of fish such as Yellow Labs, Lwanda Peacocks, Pombo Rocks, Super Ruby Reds, Zebra OB, Golden Julies, Moori, and 2 Bristle Noise Plecos.
Community
Spotlight
Spotlight
the

